If you’ve ever tried to use these edge banding trimmers, you know how big of a pain they can be.
If you don’t read the grain right, you’ll lose half of your edge bander and it’ll just tear right off.
Edge Banding Trimmers Suck

Not to mention how quickly they get gummed up with glue and shavings.
So today, I’m going to show you the quickest and, by far the easiest way, to trim edge banding using an auxiliary fence on your router table.
Why You Can’t Use You Existing Fence
Let me show you why you can’t use the existing fence on your router table.
The first major issue is that the typical router table fence is only two to three inches tall. And this prevents you from having good support as you’re pushing through large plywood panels.
The second issue is that the fence panels don’t allow for the overhang of the edge bander that you’re trying to trim off.
The third issue is that these fence panels are separate. You could run into a problem where, as you’re pushing the board through you run into that second fence panel. So let’s address all these issues and start building the auxiliary fence.
Gathering Dimensions
The first step is to get the required dimensions and i’m going to be basing those off of the sacrificial fence panels.
Now,keep in mind I have a kreg router table.If you have a different one, your measurements could be slightly different.
One thing to look out for is that the fence panels that we’re building need to protrude from your aluminum fence.In my case,the original panels did by about 1/8′ of an inch.We’re good to keep the thickness at three quarters.
The second measurement is the height of the fence panels and, in my case they’re two and a half inches.
The last measurement you’re going to need is the length of each of the fence panels and on the kreg router table it’s 18 inches.
Cutting the Parts
Now that we have all the measurements, we can go ahead and cut some replacement fence panels which we’ll then build off of.
The next step is going to be cutting the tall fence panel, which is again going to be made out of three-quarter inch MDF.The length is going to depend on your router table.Here the length of my fence is 36 inches,but we’re going to allow for dust collection. So we’re going to add three to four inches to that.
So I’ll cut it to the length of 40 inches and the height i’m going to go for 12 inches, which will give enough surface area for the work piece not to rock back and forth.
Fence Assembly
So the next step is to attach the replacement fence panels to the taller fence. We just cut to attach the fence panels, I’m going to be using Tite-Bond CA glue with their accelerator spray. I’m going to be using a three-quarter inch spacer that I cut from the scrap MDF.
What we’re going to do is leave a gap at the bottom of the tall fence and that will allow the edge bander to pass underneath. So we can trim it flush so now the last step is to get the holes drilled for the mounting hardware. To do this, i’m going to be using the existing fences and transferring the holes.
Now,the easiest way I found is to take a drill bit that is the same size as the hole.You’re going to want to use a brad point bit for this, and the tip of the drill bit is going to leave a mark in your work piece, letting you know exactly where to drill.
Now that we have the locations marked, we can go ahead and drill through the fence, with a very small drill bit. What that’s going to do is allow us to drill from the front of the fence and countersink the mounting hardware. Now we can go ahead and countersink from the front and then finish it up with the same drill bit that matched our original fence panels.
Router Bit & Fence Setup
We’re ready to install a router bit and get the fence attached.For the router bit you’re going to want to use a top bearing flush trim router bit.I wouldn’t go out and buy a new one specifically for this. They do tend to get gummed up with glue, so if you have one laying around go ahead and use that and you’ll get great results.
To set the fence,you’re going to want the fence panel to be in line with the bearing of your router bit. This will ensure that you have a nice clean cut and you won’t dig into the veneer of the plywood.
To test this out,you can take a scrap piece of wood and run it along your fence, making sure it does come in contact with the bearing.Before we run anything through this, I’M going to apply some paste wax.It’ll just give a nice coating and make it a smooth surface for the boards to run on.
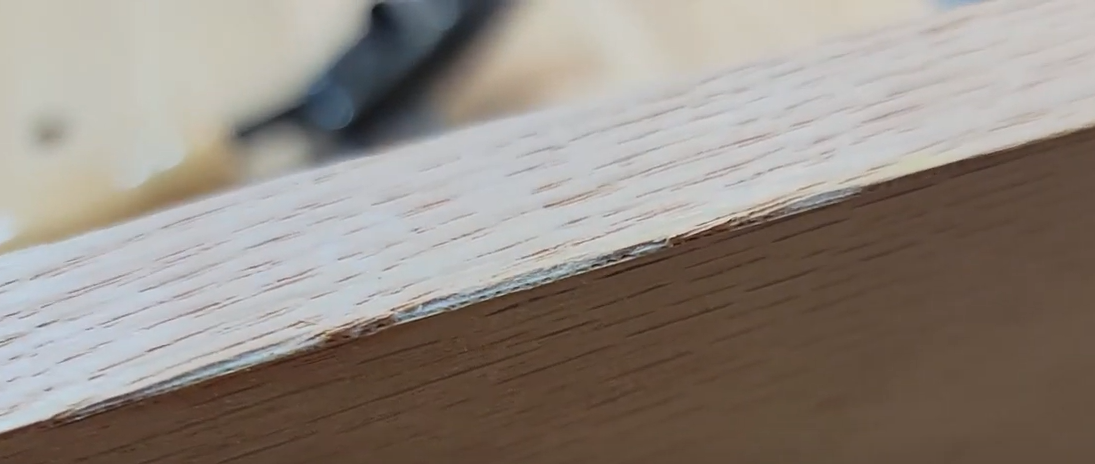
Routing &Sanding
As you just saw trimming your edge banding using this fence makes it super easy, also not to mention you get perfect clean cuts every single time. One thing to note is you might notice some buildup on the edges of your edge bander and that’s just the glue residue which can be easily taken care of using 220 grit sandpaper.