Today we’re going to show you how to change the blades of the wood planer thicknesser.
WINMAX PT400 all in one woodworking machine combined 3 operations, planer/ thicknesser and mortiser, compact and strong, you can change work in less than 15 seconds, without losing precision and stability.

Take Out the Blade
Frist,opened up the tables on the planer.
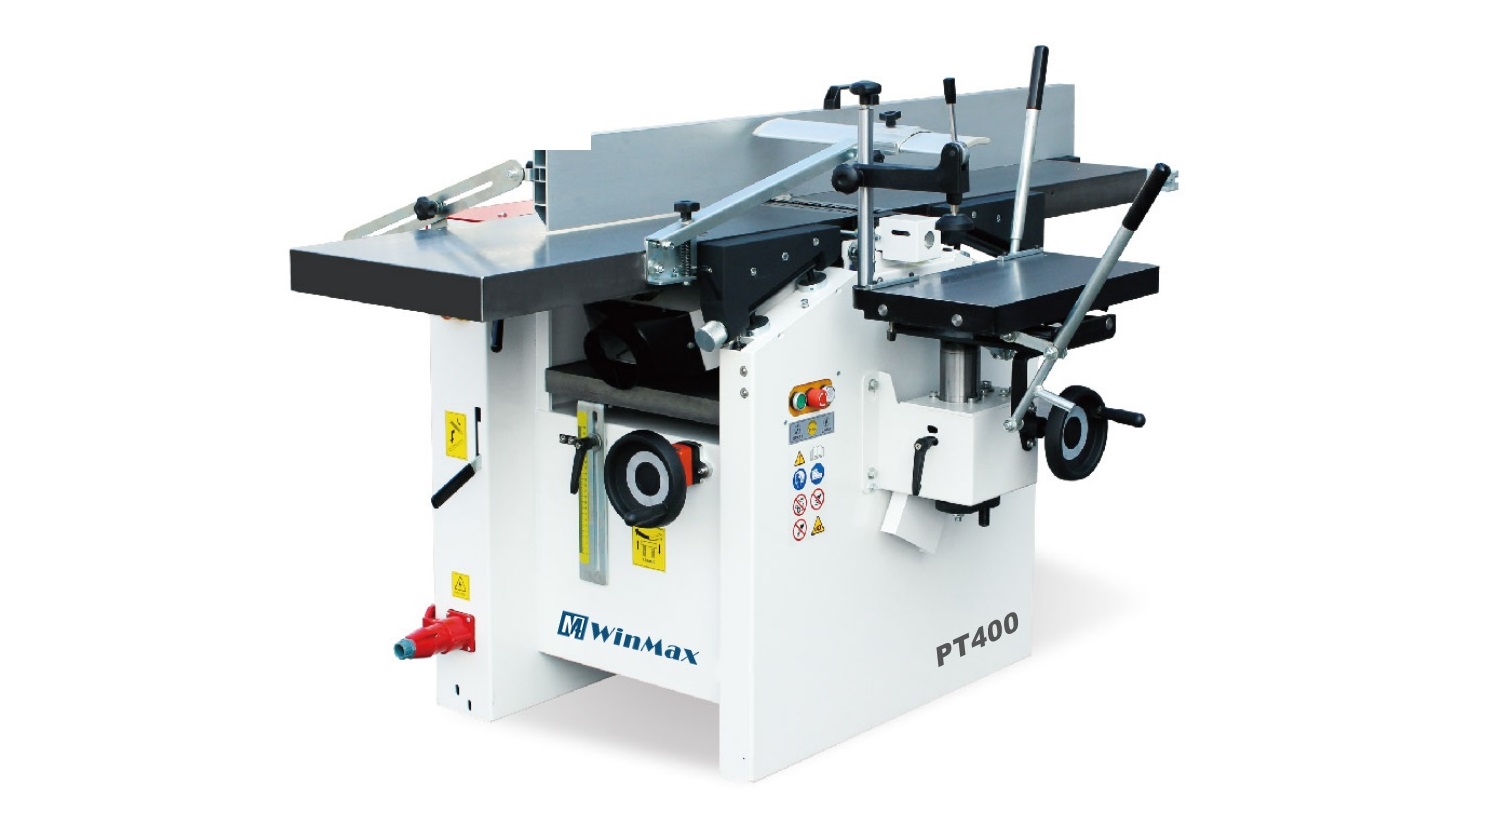
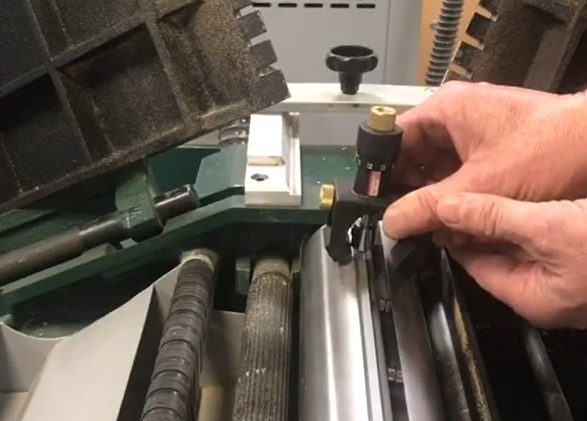
Here you can see setting jig which has magnets on both sides and also on on the adjusting stem.
To place this setting jig onto the cutter block, making sure it is placed as centraly as possible to the blade.
First to loosen the side to adjust.
Then lossen the top knob, just touching the top of the blade before we lock off.
This is to measure how high the blade is sat on the block.

We repeat this process on the other side.
The machine has been cutting nice and this is because we can see that the blad is nice and level.
We then lock them in position.
This setting jigs will allows us to place the sharpened blade exactly as they were before.
We are going to remove this from the planer.
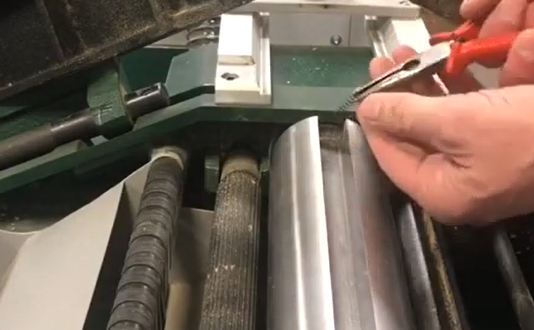
There are four set screws.
Using a spanner, turn clockwise to lossen the set screws because there is a wedge supporting the blade.
As the set screw is loosened, you will be able to see the blade popping out.
If you press on the blade carefully, you will be able to feel that blade has loosened.
This is becaused of the springs underneath the blade.
What the seeting jig does is press the blade into the correct position before locking off with the setting screws.
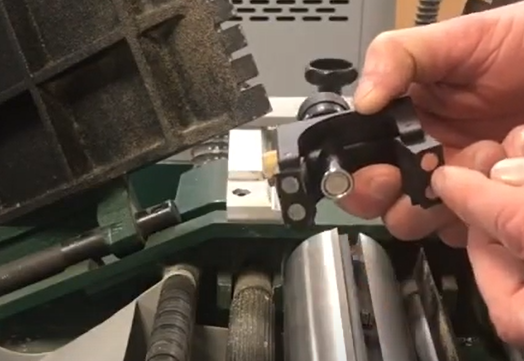
The blade can be easlily removed and can now be sent for sharpening.
For maintenance purposes, we’ll remove the wedge and you can see the set screws.
The wedge is angled so the blade sits on it, and it presses up against the cutter block angle as well to chop the blade in position.
So this is a good opportunity to get rid of all the residue that’s on the block and also on the wedge.
There are the two spring used as a compression for the blade which sits on either side of the cutter.
So the wedge can go back on the cutter but make sure to place the set screws facing towards you, just as they were originally.
Put back the Blade
Make sure to line that up and now the blade can go back to its position.
You can just place the blade in the gap and ensure the blade’s cutting edge is towards you, located centrally in the block.
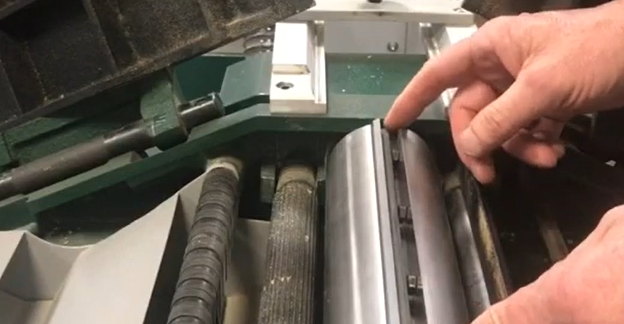
Also ensure that the blade has got the spring action.
There are two was to placing the setting jig.
To set the blades to their previous positions, make a note of their position using the measurements on the indexing.
Then loosed the side and the top knob, place the setting jig on the top of the blade.
Secure it in place and tightening the knobs according to the previously noted measurements or to the desired position.
We prefer to leave them in their original positions.
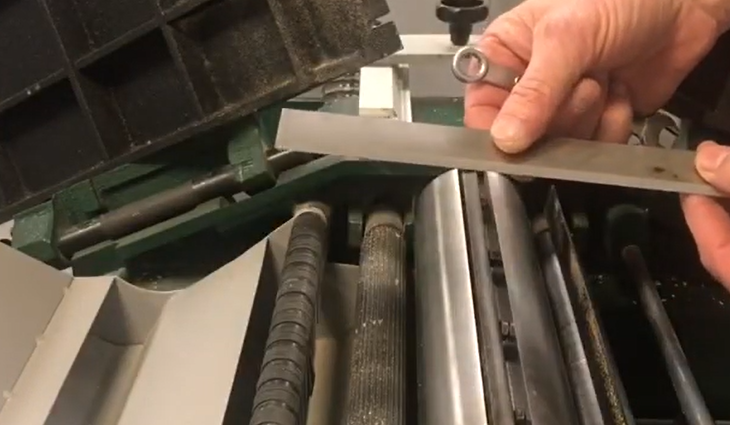
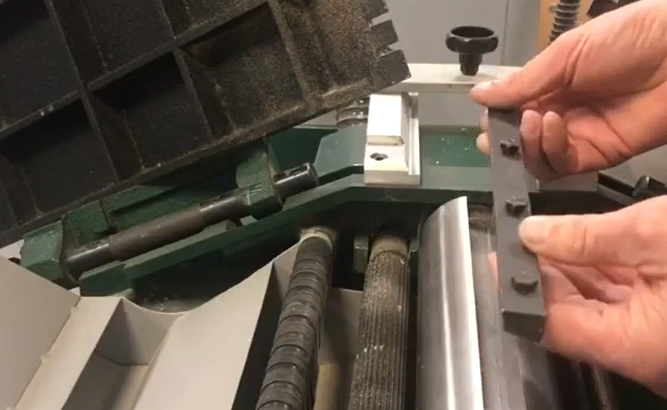
Carefully place the jig on top of the block.
So the blade picks up on the magnetic and let the setting jig press the blade down into its position.
You can now place the second setting jig on top of the cutter block, pleacing the blade in its original position on both sides.
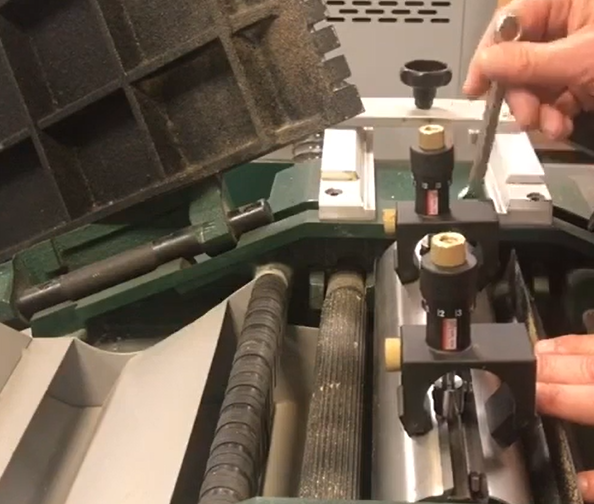
This way o know that the blade is in its correct position.
Now the wedge screws are ready to be tightened.
Use a spanner to tight the screws.
Ensure not to tover-tighten the set screws at first before getting them all secure.
Once all the set screws are all in position, you can tighten the screws before removing the setting jigs.
Also remember that the planer has three blades to be repleaced.
What we like to do is to give each blade a number, so this way, we won’t miss out on replacing any blades.