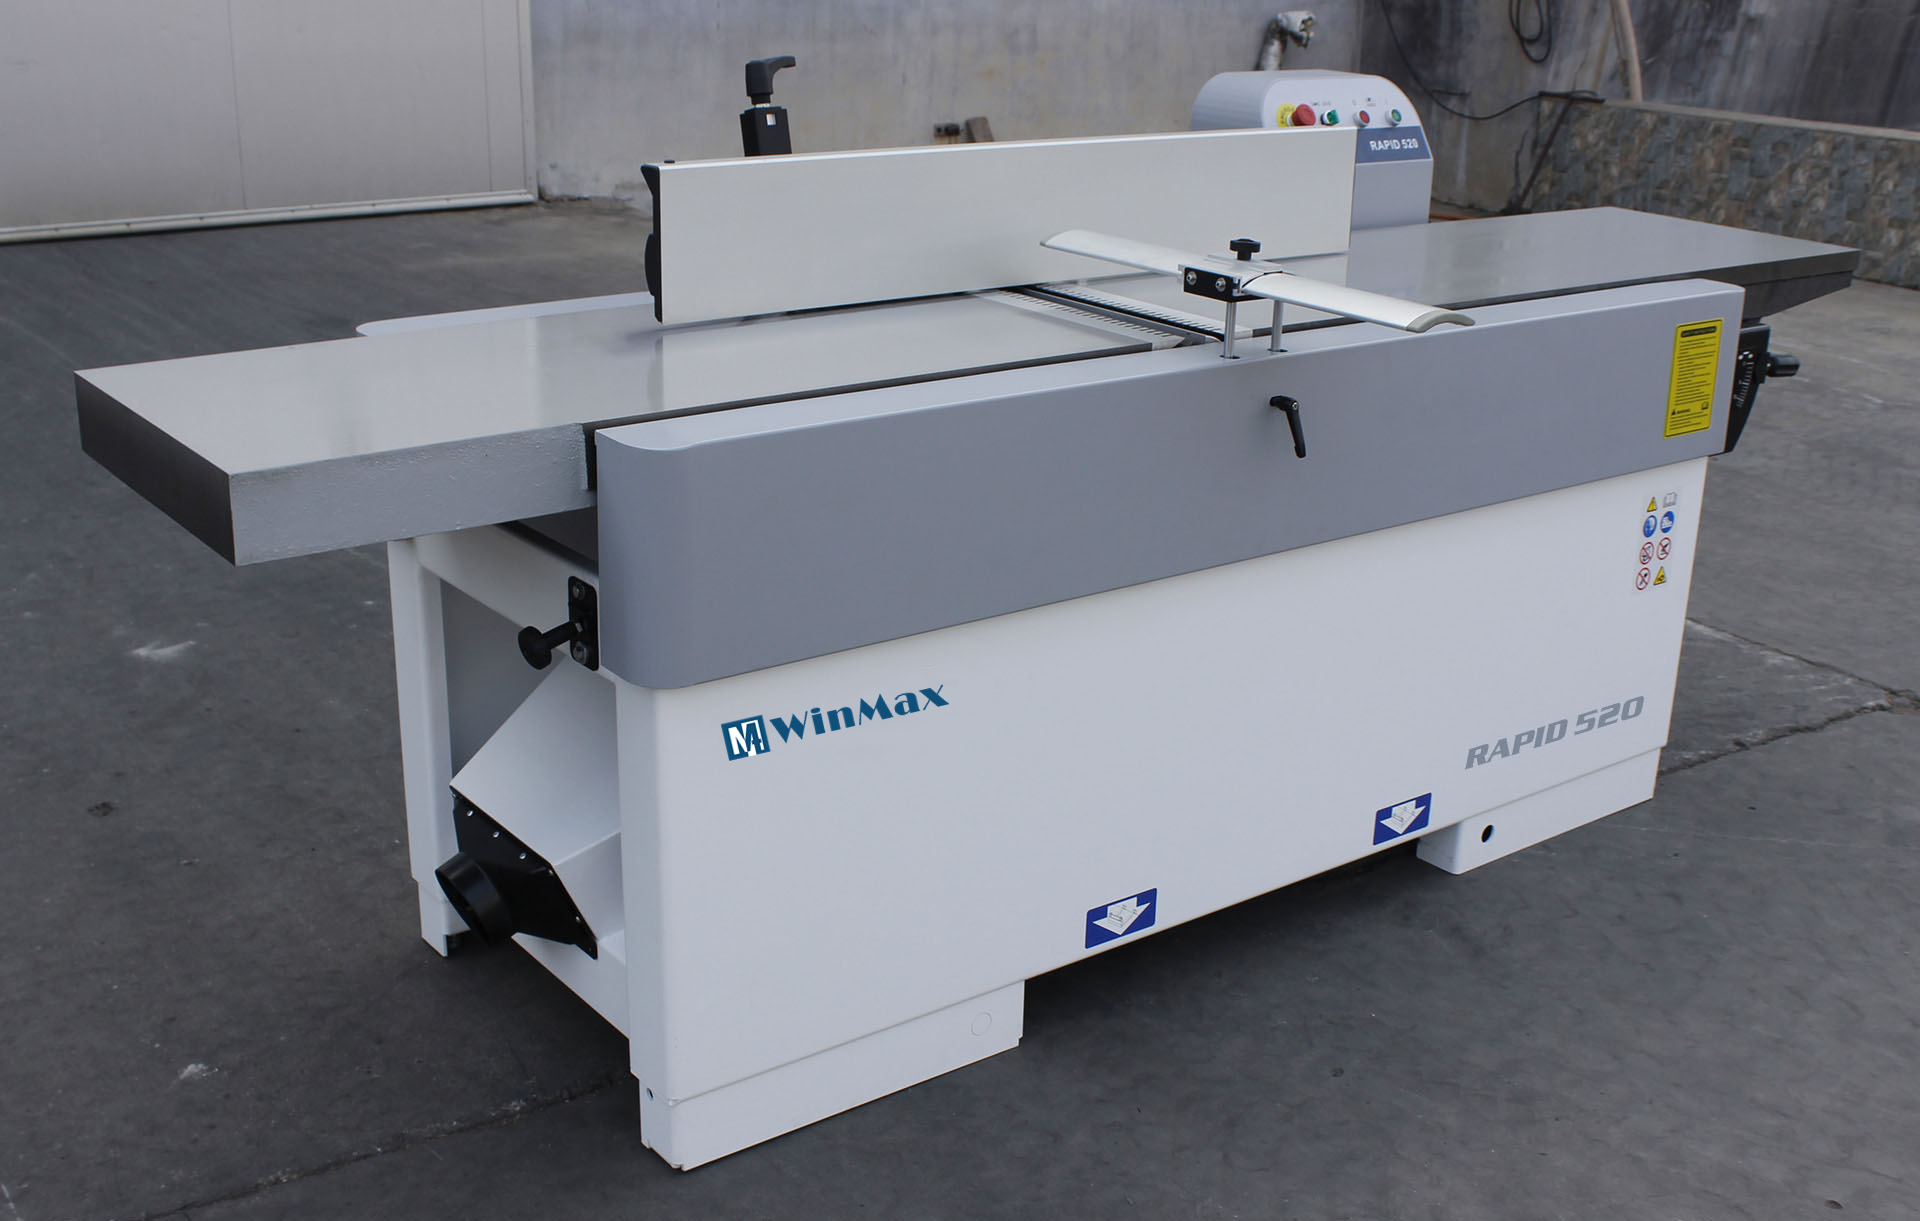

One of the first machines you’re going to have to use to fix that bow in the face of the wood, is a jointer or surface planer.
When you buy rough lumber for woodworking projects, you’ll occasionally get a board that has a bow or a twist in it.
And in order to work on the machines, like the table saw, you need to have the faces flat and the edges square.
What it is a cylindrical set of blades, that are down in the bed of this machine.
Feeding Way
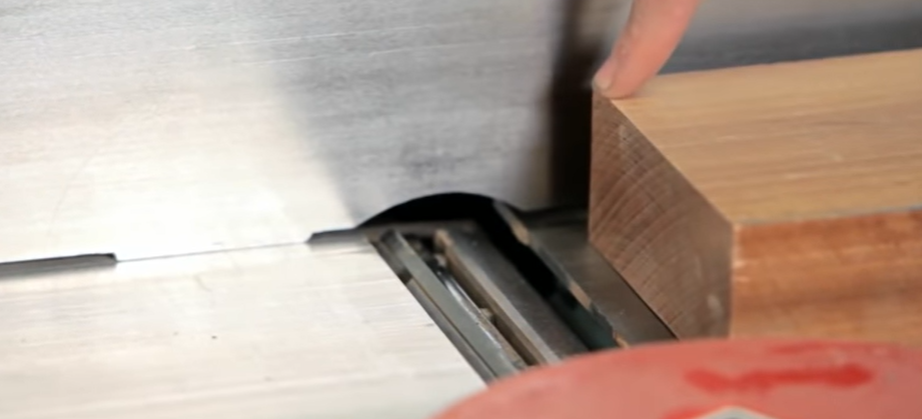
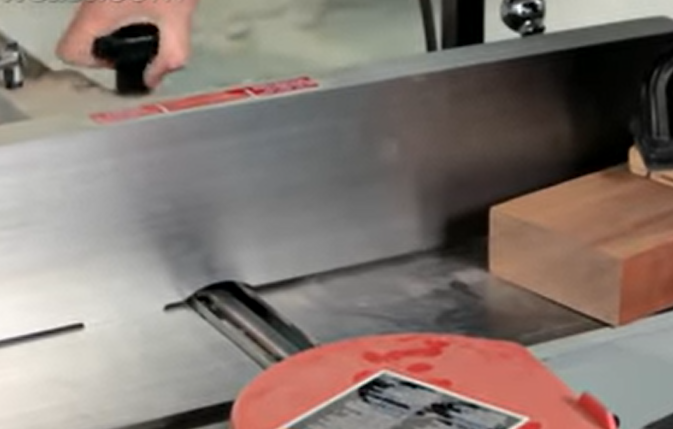
The way that the machine works, in the most basic way, is that you’re starting on an infeed table that’s slightly lower than the blades and the outfeed table.
The blades and the outfeed table are at the same height.
So it’s essentially going into a little cliff of blades that shave off a small amount, and then you end up at the new height, on the outfeed table.
Mark the twist side
This board, for instance, here, that I have, has a little bit of twist to it.
You can see there’s a high and low point.
If I push down on the corners, these ones are relatively stable; these ones really move.
That means that these are the high corners.
So, I’m going to mark those, and we’re going to find the face that’s the least twisted, and work on that one.
It’s definitely the first one.
You find those high points, mark them, those are the points we’re going to try and lower on the jointer.
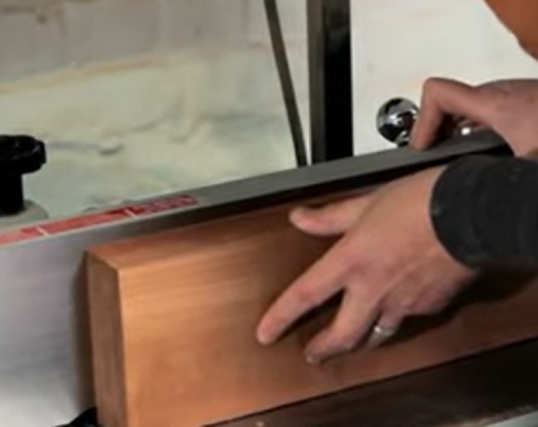
Planing the wood

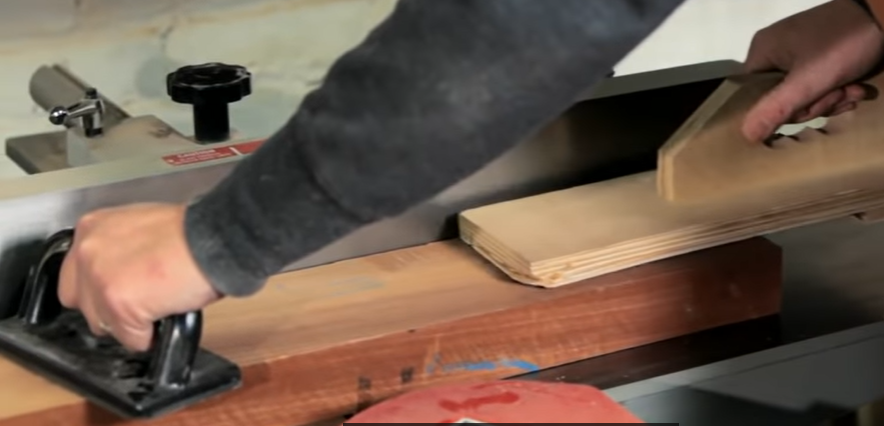
Now, the technique for doing this is to use a push pad to hold the wood down at the front.
And, you’ll use a push stick on the back, to push the wood forward.
In the case of a twisted board, and this is the most kind of advanced thing you’ll do on a jointer.
You’re going to have to put extra pressure down on those high points as you’re passing this through.
Regular pressure on the rest of the board as it passes over, and then high pressure again on the other corner as it’s passing through.
So, it’s a little bit of a coordination exercise, but I’ll try and demonstrate it for you.
If this board weren’t twisted and we were just trying to flatten the face.
Maybe there’s a slight bow, we would just be passing the board over uniformly.
As soon as it gets on the outfeed table, you’re putting all of your downward pressure over there, to keep it at that new height, and just pushing it through.
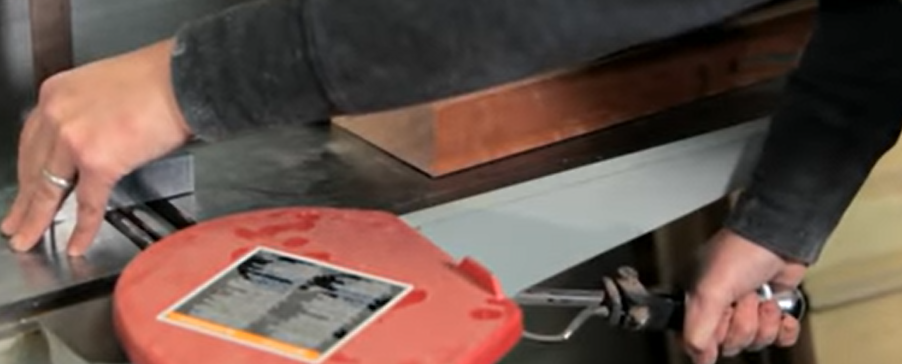
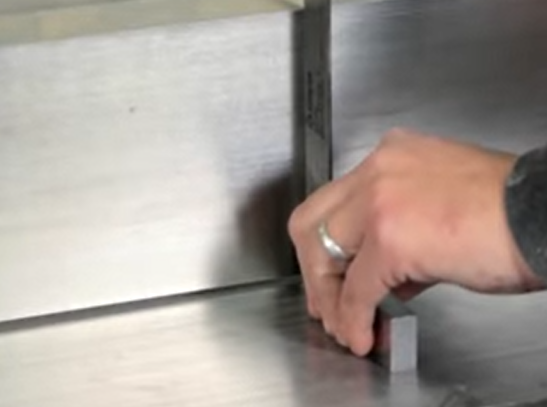
One thing to take note of, is before you do any cutting on the jointer, you’re going to want to, just verify the difference in the table heights.
The easiest way to do that – rather than relying on one of these gauges.
Which may not be accurate – is to put a straight edge or square on the outfeed table, and look at the height difference on the infeed table.
Just by looking at that, just eyeballing it, it looks to be about 1/32 of an inch.
Ajust the machine
It’s not very much, you can adjust that, if you wanted to , make it more aggressive.
Adjust the table height
This table can be raised and lowered.
You just have to unlock it in the back, and grasp this clutch, raise and lower it.
So you can make it a very aggressive cut by lowering it, or bring it up and make it a lesser aggressive cut.
Just lock it when you’re done.
Check the back fence
Now while we have the square, the other thing to check on a jointer, is to make sure the back fence is indeed 90 degrees to your outfeed table.
If it’s not, this fence can also be adjusted.
There’s a lock that lets this fence bevel, so you can do angled cuts against the jointer blades.
But sometimes that gets out of square if people use it and don’t put it back right.
So, just double-check, and make sure you’re totally square.
Okay, that’s locked in place.
Adjsut the width of the cut
The last adjustment you’ll make on a jointer is the width of the cut.
I just have a six inch-wide jointer, that’s the maximum I can do.
But if I was working on a narrow board, I would want to expose less of this blade.
There’s no reason to use the whole blade if you don’t need to.
So, on my board, I’m only about four inches.
That should cover it. And we’ll lock it down.
Planing the wood
So, let’s go ahead and run this through, and see what happens.
The face is jointed now, it should be relatively flat if I push down on the right places.
High points are basically eliminated.
Once you go to the planer and do the opposite face, you can come back to the jointer, and do the edges.
So, let’s see – we have two parallel flat faces on this board.
And we’ll index off the back fence, and create a 90 degree angle at the bottom edge.
This is how you start squaring up your board.
You get two faces parallel, and then you get one edge perpendicular to those faces, and then you do the last face on the table saw.
So, let’s just look at how we joint an edge.
It’s a similar procedure.
The pressure points are the same.
You really only want toput downward pressure once you’re over on the outfeed table.
Depending on the initial condition of this edge, whether it was bowed or not, you may need to run it through again.
One way to check it, just quickly, is to put it against the back fence of the jointer, and you can see if there’s a seam or not.
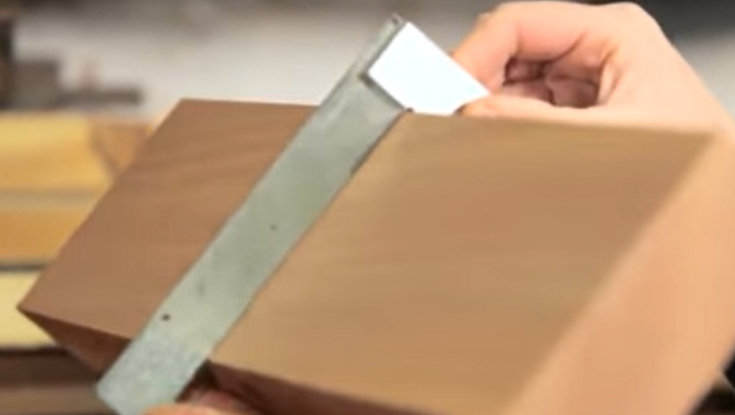
But really, the ultimate test is going to be with a square.
You’re going to want to make sure that that face and the edge are truly perpendicular.
And you can sight down with a square, using a very accurate square like an engineer’s square like this , and just make sure you don’t see any gaps happening.
And that’s it for the jointer.