
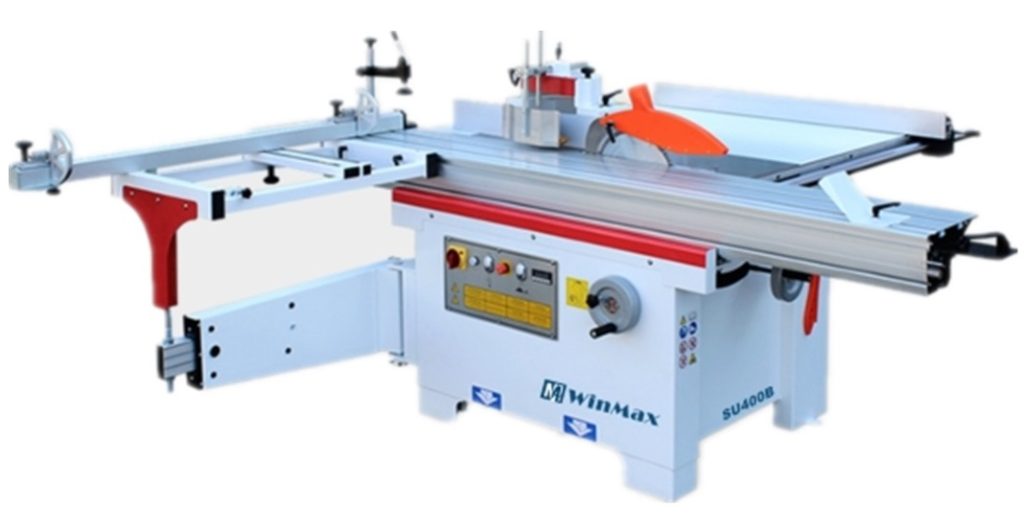
In this post, we will attempt to show what this combination woodworking machine is capable of.
Unpacking the Machine
In 10 minutes or less,with a nice table to show for our efforts by the time we are done using all the stations.


Please note this was performed on a European version of the machine, so we will not be showing any dato function.
You can use any standard Dado stack up to 3/4 of an inch is wide.
Packing Machine
During the first few minutes, you will see me unpacking the machine, cleaning it and installing some components like the mortise, attachment outrigger, squaring frame,extra support table separate, miter gauge, along with various and sundry items and components.
The Miter Gauge
Please note on the miter gauge that the composite base of the clamp mounting rod has a proud ring at the top of it.
This is designed to be inserted into the channel at the base of the miter gauge extrusion, so that when you tighten the bar to the sliding table, the miter gauge extrusion is held tightly in place, which aids in keeping the fence rigid during operation.
The Jointer Fence
One thing to note about installing and using the joiner fence is for edge joining. You want a more rigid fence since you press on the face of the fence to get a square edge.
And those instances you would install the stiffener rod behind the fence and nearly at the cutter head.
It consists of a small mounting block and a steel rod. There is a threaded hole in the block, which is then tightened and clamps the rod in place making the fence very rigid.
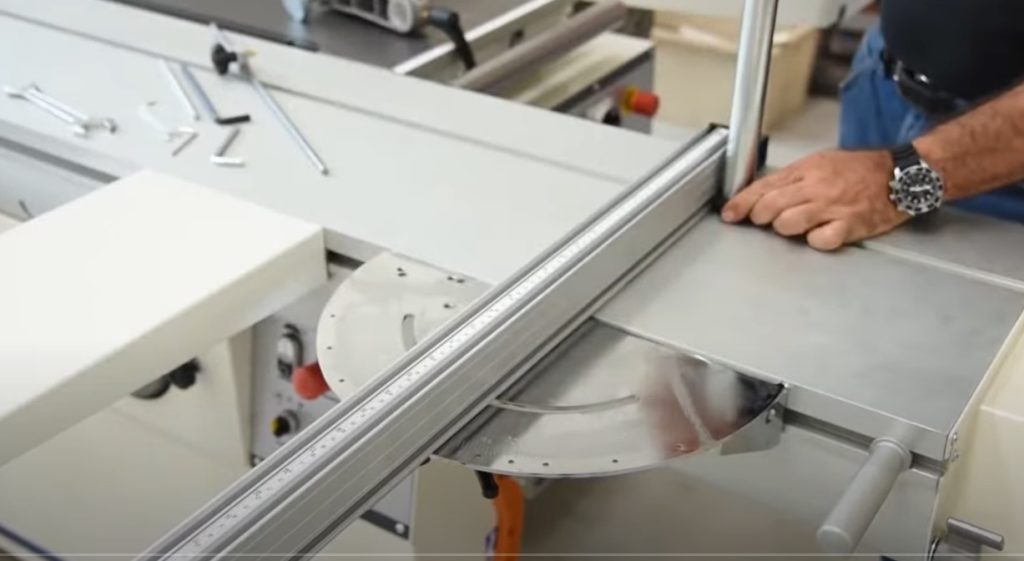
The black wedges in the saw guard, are for packaging purposes and should be removed before using the guard .
Installing the blade
When Installing the blade there is a hole in the table for the lock rod which locks the arbor and allows you to work the nut on or off.

I would like to note that the threads always tighten against the direction. The teeth are rotating for any cutting tool.
This keeps the hardware from loosening during operation and because of this, there is no need to over tighten the nut for the riving knife.
You would want to keep the leading edge of the knife, approximately 1/8, of an inch from the teeth of the blade.
The Plans
Here are the plans and the rough lumber for our table. We will start by squaring up in dimensioning our plywood top.
One thing to note here is when working on a slider for most things, you just keep making left turns with the material. Allowing you to do your rip cuts and cross cuts, one right after the other.
With each part, rather than having to rip everything first restage and come back and crosscut everything next like on a conventional table saw.
The Jointer
Next, we take our leg stuck to the jointer to flatten two faces in square one corner.
You’ll note here we are demonstrating the osha-approved American style guard, not the European guard.
All Winmax joiners and jointer planers for the USA will come standard with this type of guard. Once we mark our square corner, we will be ready for the planer and final dimensioning.
The planer
This machine has the Winmax xylan head installed on the jointer planer. The turf-cutter head system is also available.
Both are upgraded systems that offer unique advantages. Talk to your representative to see which system is best for you.


Here you can see we are squaring one end and cutting to dimension our table lengths .
Setting the Planer Height
when setting the planar height, the digital readout, makes easy work of getting the exact thickness we want. This is standard on all Elite or e level.
Thicknessing
Machines now begins the drudgery of thickness in our remaining stock, so that it is all uniform one by one,one after the other.
This is when it is good to have a helper on the outfeed side of the planer.
Squaring Corner
Now that we have established all uniform thickness on the rest of our pieces, we want to put a square in flat edge on the boards.

And once you have a square corner on something, you can pretty much go anywhere and 90 % of woodworking projects.
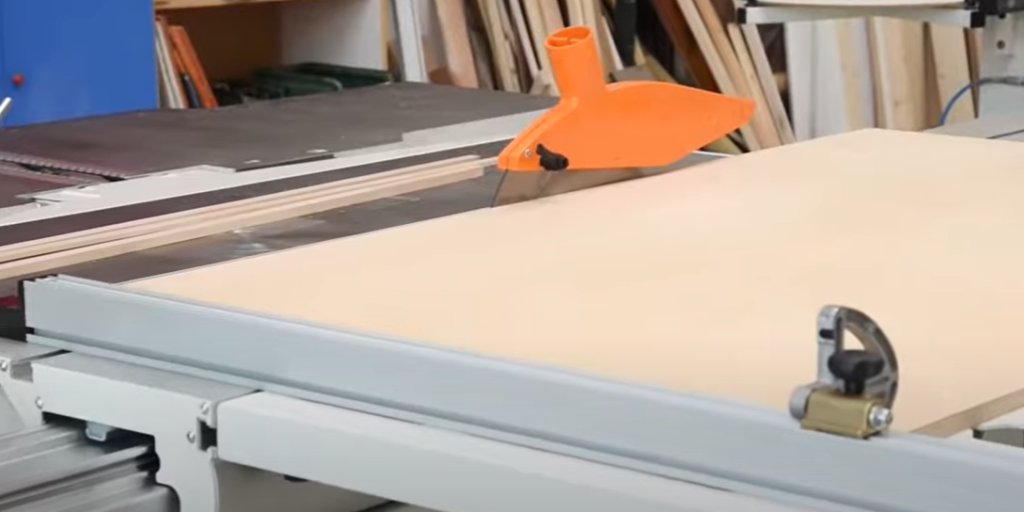
Straightlino Cuttings
Here we are showing an alternative to using a jointer for that first flatten square edge.
We have a sliding table here, so we can do straight line cutting in one pass, thus avoiding the two to six or even more passes.
This would require using a jointer now that we have square and flat edges on our stock.
Parallel Cutting
We can set the RIP fence and do some parallel cutting to the widths we need.
This can also be done on the sliding table with some simple jigs or, in some cases, more sophisticated positioners, because once we have a straight edge.
We really only need two points in space equidistant from the sliders edge to achieve a parallel cut.
However, we will save that demonstration for another day.
Dimensioning
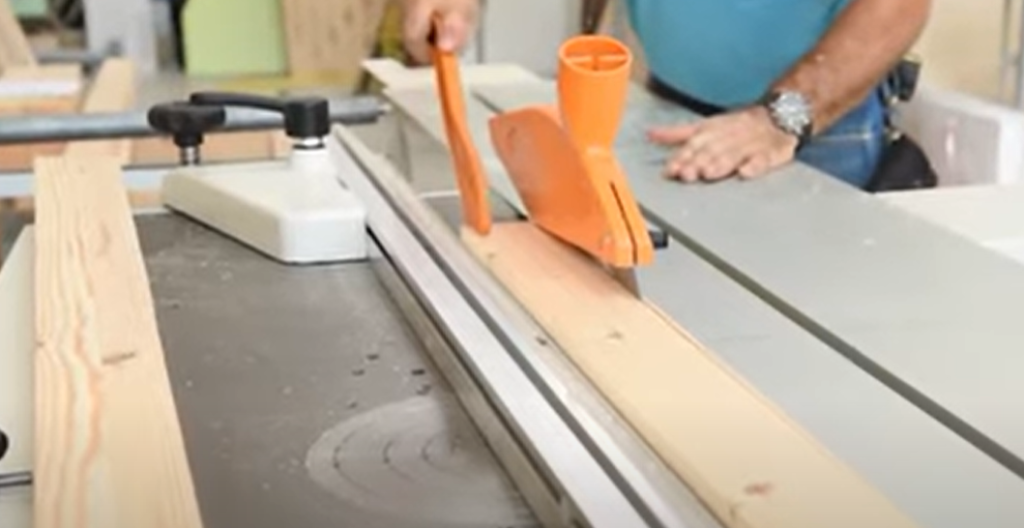
Now that we have the widths we want on the remaining parts we can crosscut them to their intended dimensions or in the case of our mouldings, put them off to the side to be shaped a little later when It comes to cross cutting, I really prefer to thrust cut.
That is the piece to be cut is between me and the fence. Thus, I am the clamp, keeping things tight to the fence, as they are being cut.
The shaper
Next, it is time to set up the shaper for the Tenon’s, and all we are really looking to do at this point is around the corner, so they’ll fit nicely with our mortises to be cut a little later.
Then, while we have the shaper stuff installed, we will change the profile and cut our moldings.

This molding will be a two stage molding, which means we will use two different setups to achieve the shape we want.
For tooling, a multi profile insert set like we are using here, is a great way to get into shape or tolling for those new to a shaper.
Here you can see one of the biggest advantages to using a shaper instead of a router table.
We only need one pass. Rather than having to do multiple passes to get to our desired depth of cut.
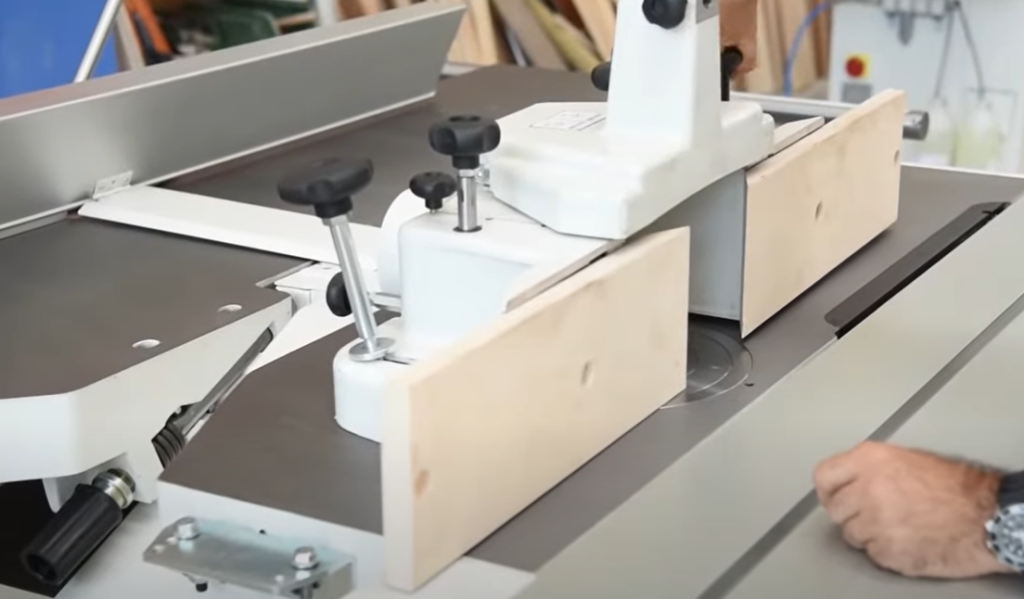
The Mortise
Time to install the mortise pit and set up to cut the mortises, we only need to mark one leg for the corners and one of everything else.
Then we set the stops and height and do a run at each setting.
This is a very efficient and easy way to cut multiple mortises that are extremely accurate and repeatable all the while maintaining a nice ergonomic body position.


Plus you get a larger range in depth than you can achieve with handheld systems.
Cutting the tenon stock to length. Here you can see how easy it is to do repetitive. Cross cuts with a slider set a stop away from the blade and rock on.
Gluing
Glue up time, hustle and clamp every now and then swearing and yelling at yourself, as you screw up the order, hoping you get it right before the glue starts to set.


We didn’t show the dry run here to make sure that we’ll all fit as intended, which I highly suggest by the way。
As practice, doesn’t necessarily make perfect.
But it does cut down on the amount of swearing needed to complete the task.
While the glue sets up will cut the miters for the corner, supports and trim moldings, and then we can install those a little bit later.
One last detail is to add a decorative edge to our tabletop, which we will do using the sliding table and the shaper together. Remember with a slider you just keep making left turns.
The Result
That’s it for now. I hope you enjoyed our demonstration of this powerful minimax combination machine.
If you are a one-person shop tight on space or both, this is the greatest way to maximize your space without having to sacrifice industrial quality machining tools.