Let’s talk hollow chisel mortising machines
and see how one can be a big help when it comes to creating mortise and tenon joinery in your projects.
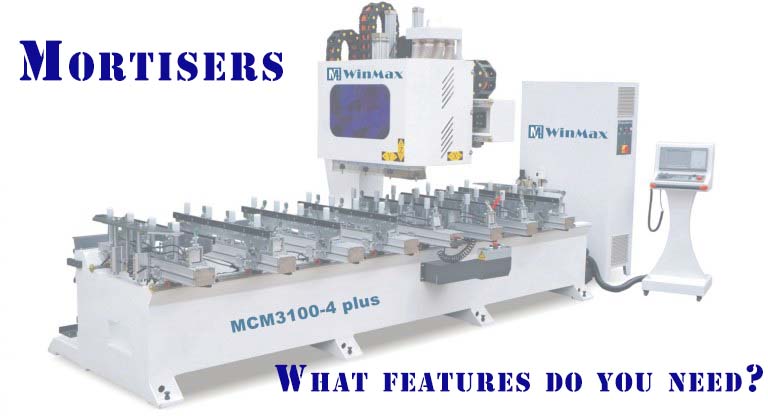
Mortisers Overviews
First, let’s look at what a hollow chisel mortiser does, and some key components found on mortising machines.
Mortiser Controls & Components
Sitting atop the mortiser is the motor, which typically ranges from a half horsepower, like this benchtop model, to a one horsepower, like this, and even larger.
The Motor of the Mortiser
The motor is a direct drive to the keyed chuck that is housed inside here, and is accessible through the chuck cover or multiple covers.
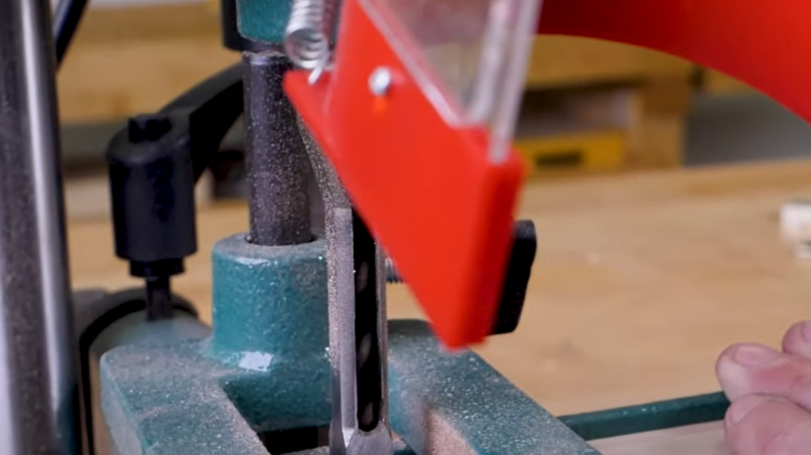
The Chisel of the Mortiser
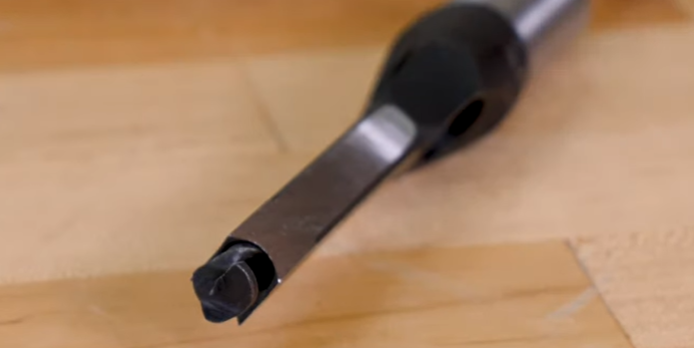
The business end of the mortiser is the auger bit and chisel.
The chisel size used is based on what’s needed to match your tenon size. With chisels on working-machinery.com being available from one quarter inch to one inch wide, they’re also sold in kits like this.
Common chisel sizes for most tasks will be 3/8 inch or 1/2 inch sizes, but it’s always good to have an assortment on hand just in case.
If your mortise is larger than your biggest chisel, you can always adjust the fence and table to adjust the width after the first pass is complete.
The makeup of the auger and chisel is unique, because to fit a nice clean tenon, you’ll need an equally clean and square hole. And the chisel is designed to pare down the sides of the hole while the auger bit chews through the bulk of the material in the center.
This is the chip slot where the material is cleared away from the chisel while it’s being used.
The chip slot can be positioned to the sides or the front during setup and we recommend that it face the front to help keep the layout lines visible on the work piece as much as possible.
Other Key Components of Mortiser
Other key components on the mortiser are the hand lever and splined handle hub.
Mortisers take a bit more force to operate because the drilling and slicing action of the chisel and auger bit, so having a good handle with good leverage is essential.
And the spline hub allows you to reposition for additional leverage that you need during the cut. The motor and chuck assembly ride along the column of the machine, along with, on most models, a gas assisted return shock to help extract the chisel from the mortise.
Also, beside the column, or in this case, attached to it, is a depth stop. Some mortising machines will even feature a tilting head assembly at the base of the column.
Now please remember that mortising machines are pretty top-heavy, so if the tilt goes too far without proper anchoring of the machine, down goes the mortiser.
Out front of the larger machine is the vise in lieu of traditional workpiece hold downs.
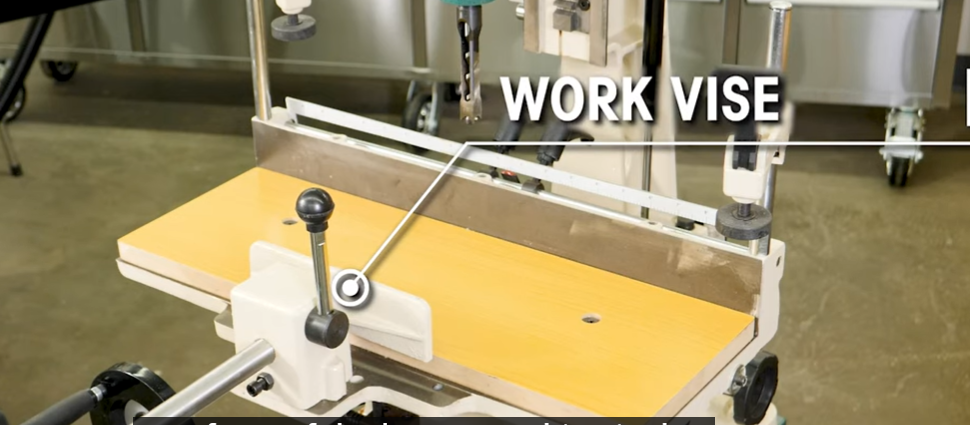
Smaller mortisers may not include this feature and that’s okay, because they’ll feature a hold down which can be adjusted depending on the height of the work piece.
The fence and hold downs are designed to support the work piece downward, as the chisel, which is a tight fit in the slot, is removed.
All sizes of mortisers will include a fence that can be shifted in or out depending on the work piece width and chisel size.
Larger machines may offer tables that can move from the x and y axis to easily work through larger mortises. And others may even feature a table tilt hand wheel as well.
All right, so we’ve taken a look at the major components of the mortising machines. Now let’s take a bit closer look at the chisel and auger bit setup.
Mortiser Setup
The chisel and auger bit are independent of one another to allow for the proper alignment and material removal.
What does perfect alignment look like? Let’s walk through installing the chisel now.
If not installed, place the bushing into the headstock and align and thread the bolt through the access hole. The same bolt will also secure the chisel in a moment, so don’t fully seat it yet. Slide the auger and chisel assembly into the bushing and chuck.
Push the chisel up until it stops, then let it slide back down 1/64 of an inch to prevent binding.
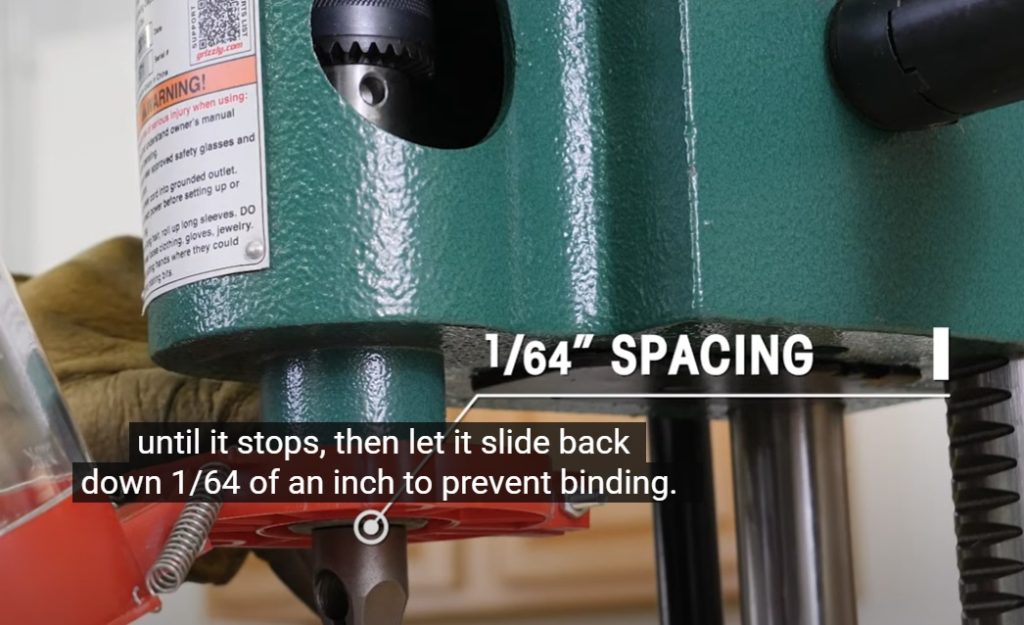
Then tighten the bolt. Just make sure that you don’t over tighten it. The auger should be loose inside the chuck, and you’ll want to have it extend past the chisel 1/16 of an inch. And then you’ll want to go back and tighten down the chisel.
Lower your bit down toward the table, and, with a precision square against the fence, ensure that the outside edge is perfectly square to the fence. Now you can close the chuck covers, and we’re ready to make a mortise.
With the chisel squared to the fence, you’ll want to align the fence based on the size of your material. And I highly recommend outlining the entire area you intend to remove as a good reference.
With your fence set properly, it’s now time to set the depth adjustment, based upon the length of the tenon.
Set your depth stop just slightly deeper, about 1/8 of an inch or so, to allow for excess glue.
Mortiser Operation
Adjust your hold down just above the work piece, and then turn the machine on. You’ll notice with the hollow chisel mortiser that there may be a bit more noise than anticipated during operation, and that’s normal. Because of the bit rotating inside the stationary chisel and the auger action during the cut.
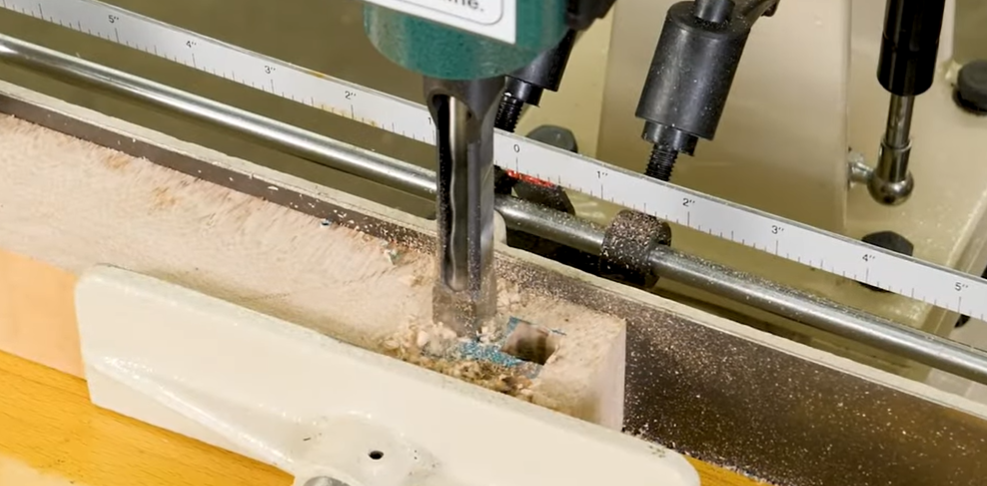
Lower the handle down and begin the cut, going slow enough to allow the chips to clear from the extraction slot in the chisel.
Once you hit the depth stop, lift the handle and shift the work piece.
For larger mortises we recommend staggering your cuts for the best results, leaving a smaller amount to remove on the follow-up pass.
During the cut, you’ll want to ensure that the work piece stays flat to the table and tight to the fence, so it’s a good idea to use a hold down, if available.
Mortiser Resources
A sharp chisel makes all the difference when it comes to getting a clean mortise, so we recommend honing the chisels on a routine basis. And if you need a new chisel, be sure to log on to working-machinery.com
We hope you’ve enjoyed this mortiser overview, and consider a mortising machine, whether it be a bench top model or a floor model as part of your wood shop.
And you can find our full line of mortisers and accessories on working-machinery.com,and there are more CNC mortiser, which can do it by automaitic feed and can do it as you design,check more details ,just click here.
.