Today we’re covering three cross cut off table saw cutting techniques: rip cuts, crosscuts, and bevel cuts.
Rip cuts
Rip cuts are the most common type of cut on the Cross cut table saw.
When you’re ripping material, you’re changing its width and generally cutting in the same direction of the grain.
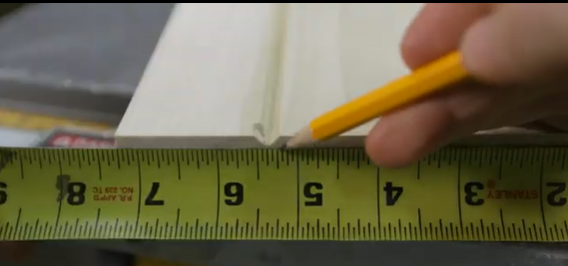
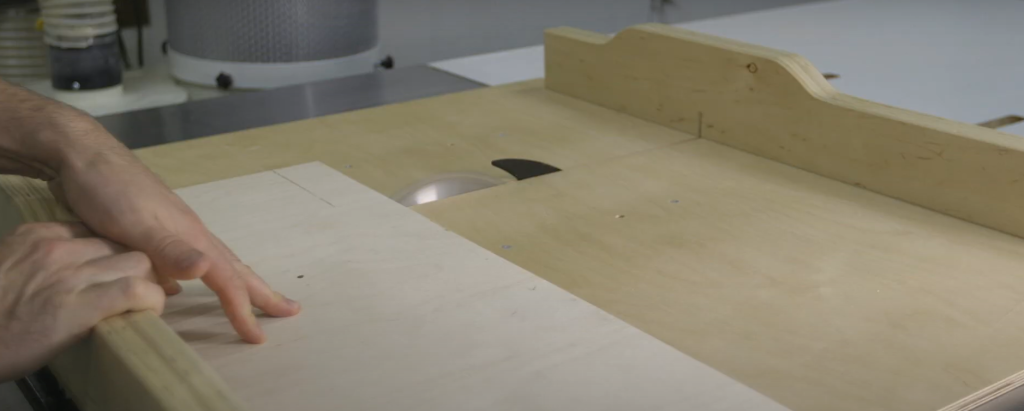
So for example, here, we have a piece of poplar that’s about seven inches wide.
And it needs to be ripped down to five and a quarter so that I can remove the V-groove.
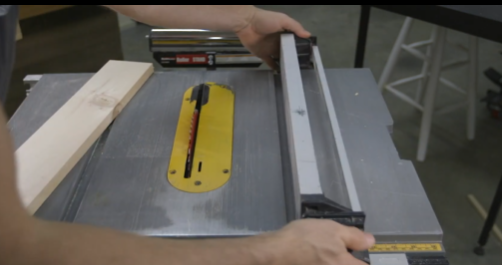
To do that, set a distance of five and a quarter from the fence to the right edge of the blade.
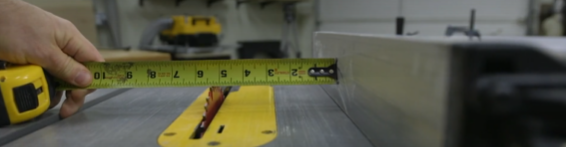
You can do this by either measuring from the fence to the right edge of the blade, or simply by using the scale on the saw.
Once the measurement is set, lock down the fence.
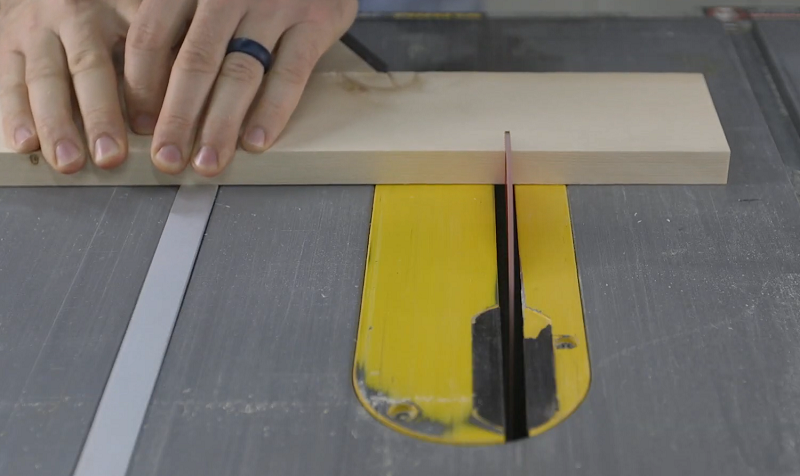
Start the saw and lay the material flat to the table and tight to the fence.

With your right hand now, slowly push the material through the blade.
While your left hand is acting more as a guide, guiding the material and keeping everything lined up.
The rate of feed should be slow and steady, pushing the material straight through until it is completely clear of the blade.

Just be sure you’re using three out of the four techniques for preventing kickback.
Moving on, When working with wider material like this, you can see that there is plenty of room for your hand to pass safely by the blade.
But when you’re ripping thinner material, you should always get in the habit of using a push stick, which keeps your hands and fingers at a safe distance.
Corss cut
Moving on to the crosscut, crosscutting on the table saw is done with either a miter gauge, a panel sled, or any other add-on tool that’s designed for this operation.
Never use your fence to make a crosscut because of the high probability of kickback.
In fact, it’s just a good idea to remove the fence altogether while making crosscuts.
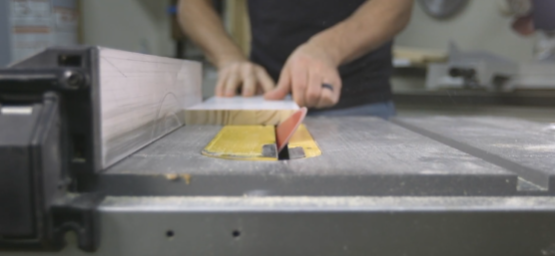
Crosscutting with a miter gauge is simple.
Measure and mark your board to length, start the saw, and hold the board tight to the miter gauge, resisting any movement to the left and to the right.
Slowly feed the material through the blade and allow the offcut to have plenty of room to move away from the blade so that it doesn’t bind and get kicked back.
To help with crosscutting longer pieces, you can always add a sacrificial board that extends the miter gauge, giving you a little bit more control over working on longer pieces.
The panel sled is another great option for cutting even larger pieces.
Here you can see this sled fits into the miter gauge slots of the saw, and this particular homemade sled allows for very wide pieces to be crosscut safely.
I have one more option to show you and it’s an older accessory that I have.
And it’s basically a miter gauge that has hold-downs built right into it, which allows you to clamp the workpiece down. To help it mechanically then resist the board’s movement from right to left, keeping your cuts accurate and your hands safe.
Bevel cut
Last but not least, the bevel cut.
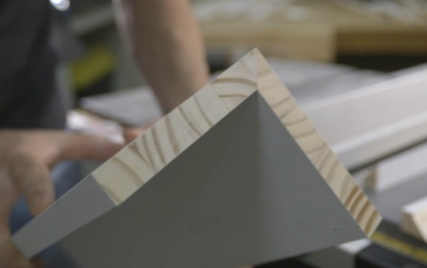
Bevel cuts on the table saw are generally used on moldings or trim and can also be used to make 45 degree bevels for joining two or more pieces of material together.
The two saws that I have here are both left tilt saws, meaning that when you adjust the bevel, the blade tilts to the left away from the fence.
Bevel cuts can be hard to keep straight, especially on long boards
But with a little bit of practice and a good blade, this type of cut can help you create some awesome projects.
Well, that does it for today’s lesson. If you have any comments or questions, leave them below.