Today I’m going to show you the BS400 vertical table saw.
Basic Setup of Benchtop Band Saw

I’m going to walk you through the basic setup of this machine, show you some of the great benefits for your small shop or your job site.
Inventory of Band saw
Right now I’m going to take you through some inventory. So what’s included?
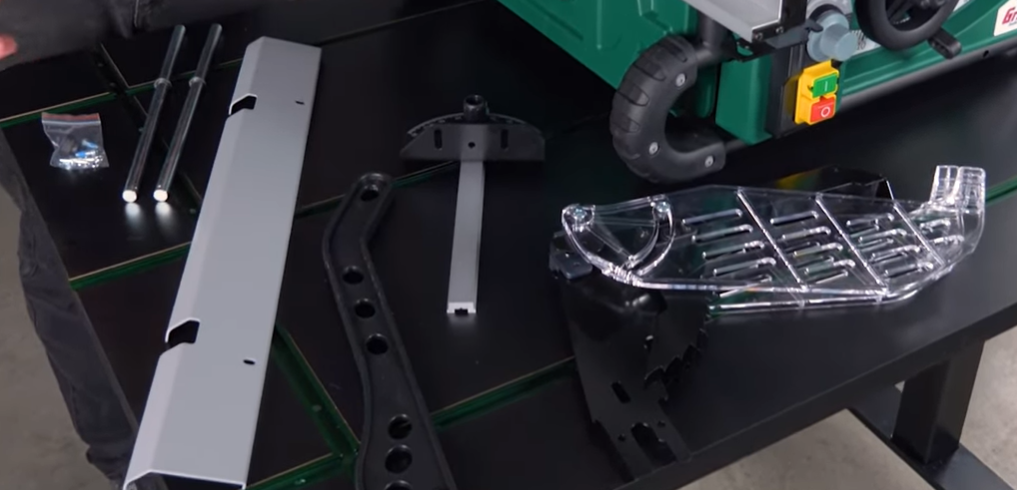
You have a hardware bag, table extension rods, the table extension itself, push stick, a miter gauge, blade guard.
And if you’re looking for the fence, it’s right under here, installed by the factory.
Fence of Band saw
Then we’ll go to the other side. And on this side of the machine, you have an arbor wrench that’s been pre-installed.
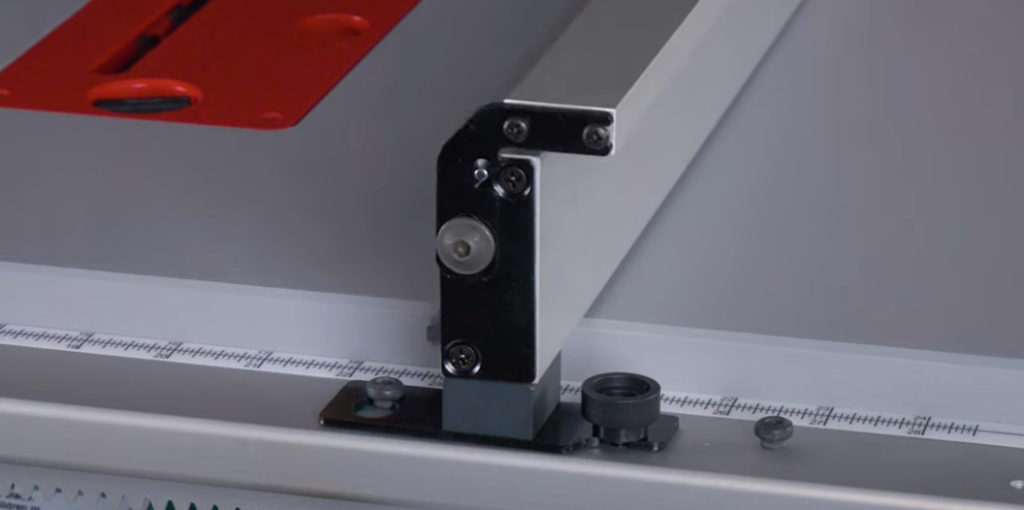
The fence mounts to the front and rear rail with a keyhole pattern and there are pre-installed screws, so just seat the fence over the top of those, and use a lock knob to secure it in place.
Alright, with the fence installed, looking really good, it’s now time to move on to the table extension.
So we’re going to rotate this entire thing around, and if you’re looking for a really cool functional piece for your shop, this table is a great addition, and I’ll put a link to that,just click 10′ band saw.
Table Extension of Band Saw
Insert the table extension rods into the back of the machine.
The table extension itself mounts to the backside of the rod, so ensure that the threaded end of the rod is facing outward. Secure it in place with the Phillips head screw and washer.
Everything moves nice and smooth, but we still have one more step here, and that’s to install the cotter pin on the inside so it doesn’t pull free.

Let’s tip it up. Each table extension rod has a hole for a cotter pin. Go ahead and seat those in place. Once each pin is seated, the rods will not be able to extend beyond the table itself.
Blade Guard of Band Saw
One final step if you would like to do it is actually install the blade guard.
Now, the blade guard is separate here because installed is a riving knife. The riving knife is for non-through cuts, and as you can see, I’ve raised the blade up with the front hand wheel to expose this, because this is how you want to change it out if you’re swapping.
First, you want to unlock the table insert, set that aside, and then inside there’s a lock lever that you lift up on pull out your riving knife. Take this guy and insert it into the exact same slot, and lock it in place.
Lift up on the clear shield here and install the table insert again.

Now you want to make sure that it actually goes underneath the anti-kickback pawls, so that they are sitting on top of the table. Press down, lock it in place.

Simple as that. Now the remaining items like the miter gauge, the push stick, and even the riving knife actually fit into the pre-formed areas on the side of the saw.
Great Features about the Band saw
What are some of the great features about this saw?
Power Plenty
It has a soft start motor that is also adjustable from 2000 to 4000 RPM. Now that is a two horsepower motor, so you got plenty of power.
Large Depth Cutting
There’s also the ability to have a very large depth of cut, or you can angle over to 45 degrees and it all locks into place.
Cutting Half Sheet of Plywood
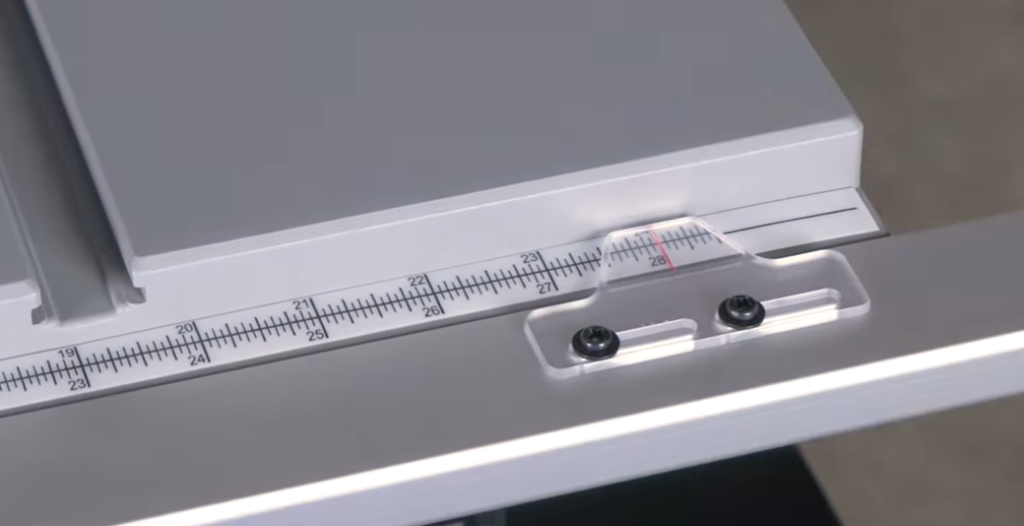
A really good feature on a bench top table saw like this is being able to cut more than a half sheet of plywood.So this one can actually take you to 28 inches with a rack and pinion fence. Let me show you.
Simply unlock the fence, twist the knob, the fence goes out to 28 inches.
Lock it back in place. Something that I find super useful on a job site is actually the two-stage fence system.
You have a traditional fence like this and then a narrow rip option. So we’ve taken a closer look at the features of this benchtop saw.
Turn into Disc Sander
Let me show you something cool, it’s a 10 inch sanding disc for your table saw.

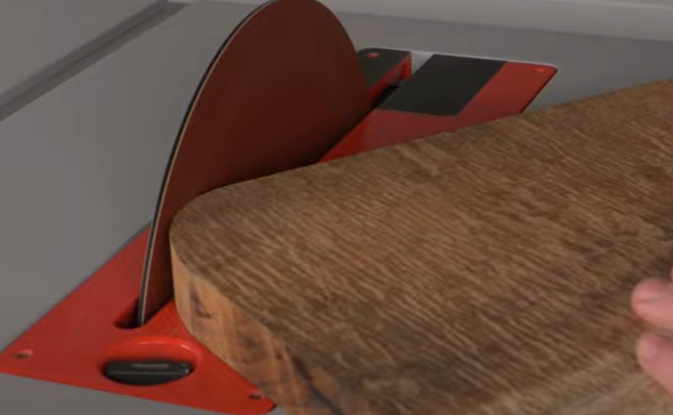
Just peel off the back of the sandpaper, put it on the plate, and install it like any blade. So now you’ve turned your table saw into a powerful disc sander.
In the world of table saws, having the ability to put a large dado stack on is a must, and this little table saw actually has an insert right here which can handle dado stacks up to 13/16 of an inch.
If accuracy is your goal, having a bench top table saw like this is, well, it’s a must.

When I started my woodworking journey almost 20 years ago, I started in a single car garage, and to this day, I still think I turned out some of my most beautiful work on a benchtop band saw like this. Now flash forward 10 years of my story and I’m working job sites. I’m doing finish carpentry and custom cabinets.
This style of saw saved me a ton of time on job sites. That, to me, is well worth the expense of having this on hand. And they run off standard 110 outlets, so any job site you can run this saw. Now this saw is light years better than what I used almost two decades ago, and honestly it’s been a huge part and continues to be a part of my woodworking experience.